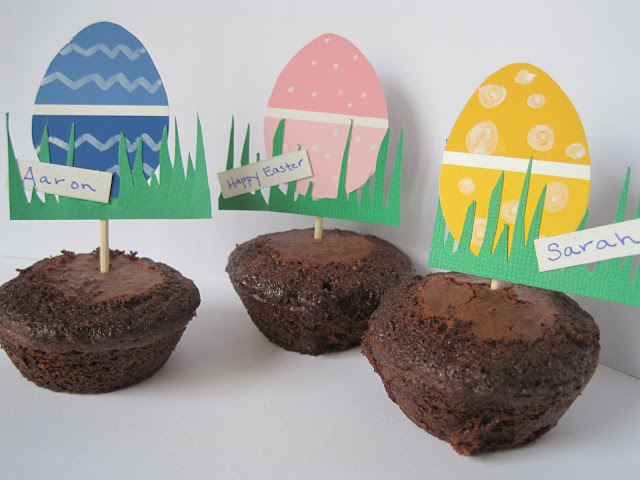
First, head over to Messy Parents Messy Kid's blog to get the template for the egg and how to use them with the paint chips. (They also have great directions on how make the gradient egg garland.)
 |
| Once you've determined how many eggs or place settings you'll need, cut out a corresponding amount of 2.5"x 1.25" rectangles of green construction paper |
 |
| Position the egg behind the blades of grass. Glue the egg to the blades of grass that end up behind the egg. |
 |
| To add the names to the eggs I cut out small rectangles and then glued them to the front of the grass and the egg. It's easier to write the names on the rectangles before you cut out or glue on. |
 |
| And you're done! I used some brownie bites I made the other night to show them off, but with the sharp toothpick end you could insert them anywhere. |
I added a little twist to my paint chip eggs for the place card project versus the egg garland - the dots and stripes! I used a white pen I use for scrapbooking to add polka dots, stripes, and zig zags to my eggs. In my family, when we dye eggs, we always do that with a wax crayon and I thought it was fitting to add this tradition to my project. In the same vein, you could skip making tags for people's names and just use the white pen to write the names directly on the egg. I hope you guys enjoyed!
 |
| Here's how my garland turned out, just in case you were curious |


Hi Sarah,
ReplyDeleteThese turned out great! I'm so glad you liked my original DIY. I posted pics of the place cards and the garland on my pinterest page of reader projects. You can check it out here:
http://pinterest.com/modrentmessykid/reader-s-mpmk-projects/
Keep up the good work :)
Steph
Love the garland, doing one of these too! Love your blog, now following! Miss Walker xoxo
ReplyDelete